Swim Like It's
Open Water.
Pool or swim spa — turn it into an endless swimming lane. Wear the belt, clip the cord, and just keep swimming: one stroke after another, no wall, no turn.
Set Up Once
Installation
Mount the base once, and the tether drops in and lifts out in seconds — nothing left standing in your pool between swims.
See the install guide →
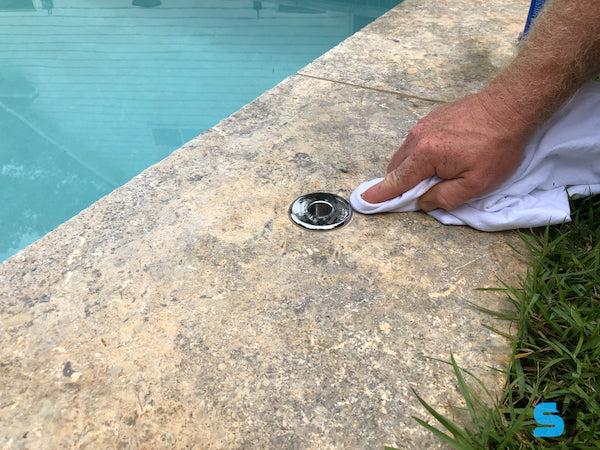
Narrow or Standard
Base Fit Guide
Already have a base installed? Match it to the photos to find whether you need a Narrow or Standard pole fitting — they aren't interchangeable, so your kit fits the first time.
Find your fitting →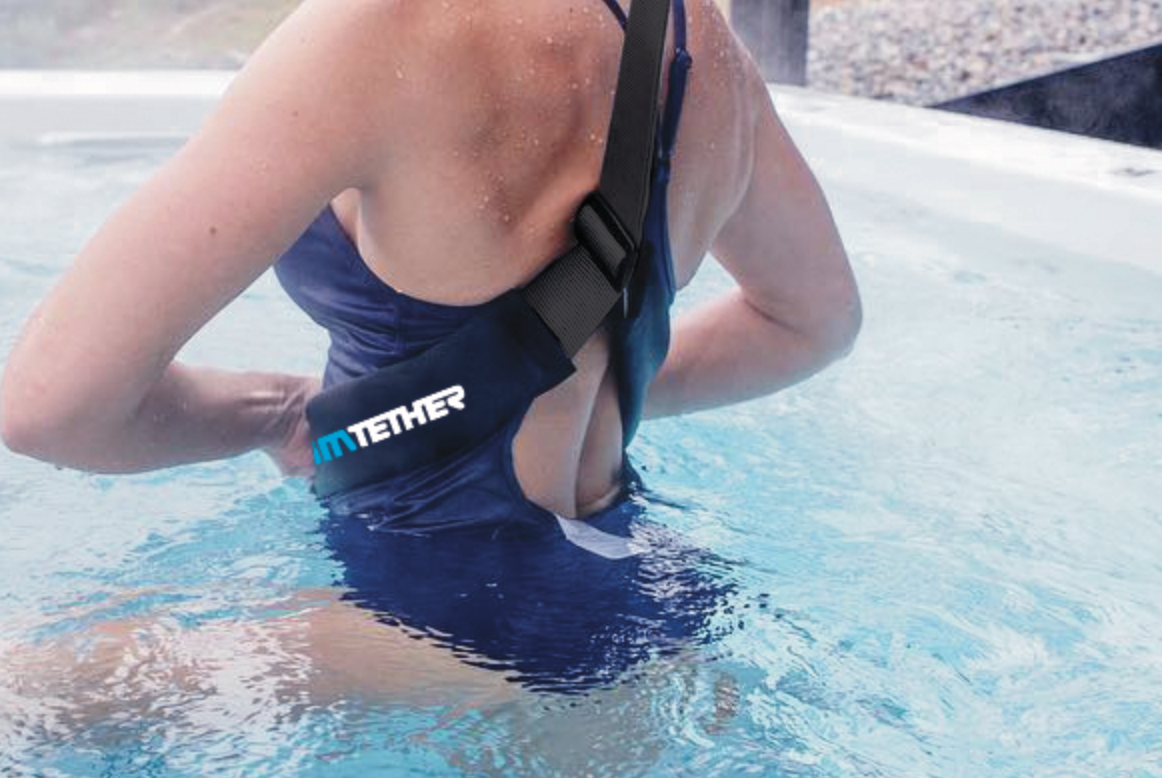
Dial It In
Belt & Fit Tips
Loosen the belt the right amount and your hips rotate again — the stroke goes from stiff to natural in about thirty seconds.
Dial in your fit →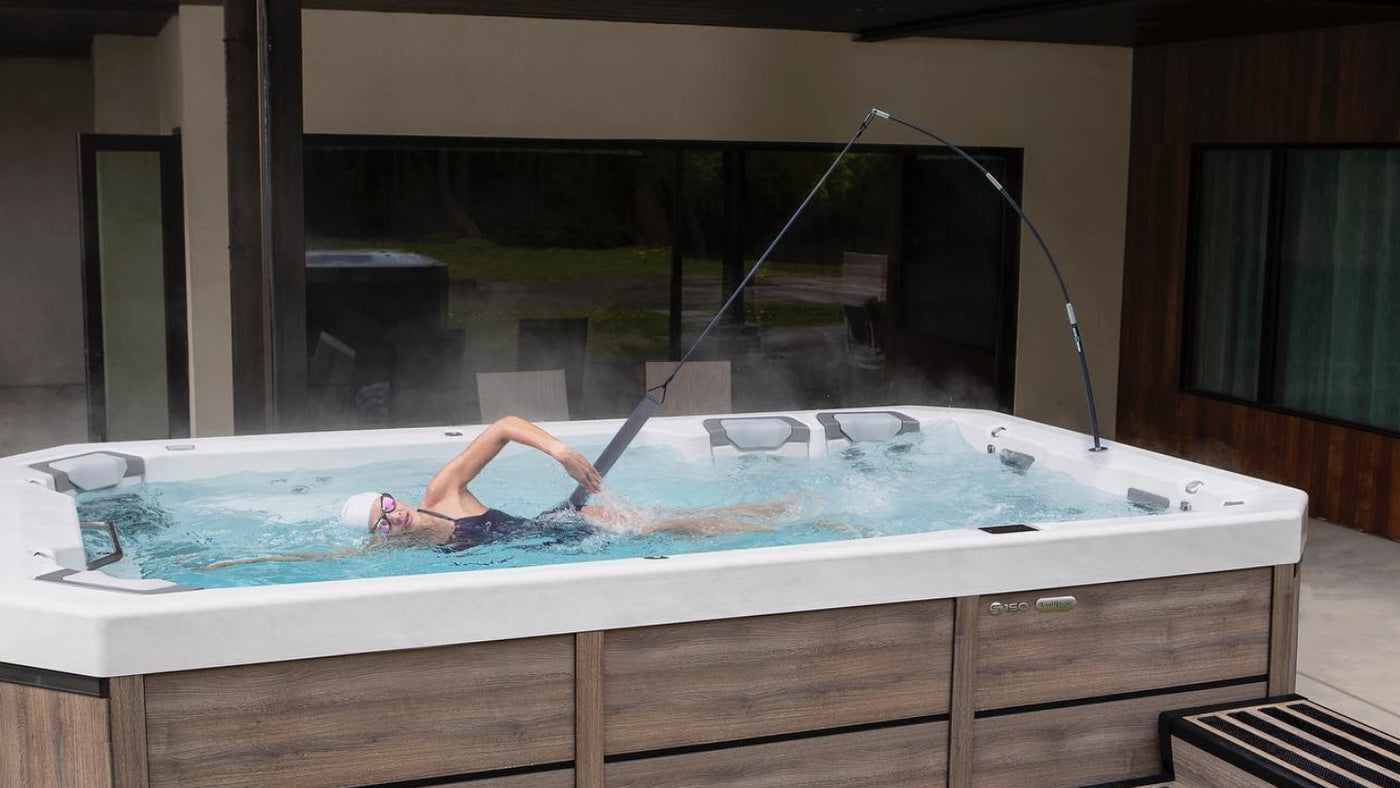
Daily Training
Swim Workouts
Structured sets from your first easy laps to triathlon prep — swim continuously, no wall, no flip turns.
See the workouts →Three Steps to Endless Swimming
Simple setup. No plumber. No electrician. Just a fiberglass pole, a belt, and your pool.


Engineered,
Not Improvised.
Cheap Amazon knockoffs use latex tubing that degrades in chlorine and snaps back unpredictably. Rope-based tethers jerk you at full extension. The Swim Tether is a purpose-built fiberglass system — the same material used in fishing rods, sailboat masts, and aerospace composites.
The pole flexes progressively with your stroke, and our Dynamic Stretch Cord is made from EPDM rubber — the same compound used in automotive weatherstripping and industrial seals. It delivers smooth, progressive resistance that increases gradually instead of hitting a wall. UV-stable, chlorine-proof, and built to last season after season.
One System. Three Levels of Flex.
Every Swim Tether uses the same base, belt, and cord. The difference is the pole — and the flex it gives your swim.


Don't Take Our Word For It.
Ready to Swim?
Choose your model, pick your cord length, and select a base. Your complete system ships in 1–2 business days.

Take Your Swim
On the Road.
The Travel Belt is a cord-and-belt system that works with any fixed anchor point — hotel pools, vacation rentals, swim spas. No pole needed. Packs in a carry bag.
Shop Travel Belt →