Skimmie Scoop Handheld Skimmer
Installation Guide
Quick Specs | |||
---|---|---|---|
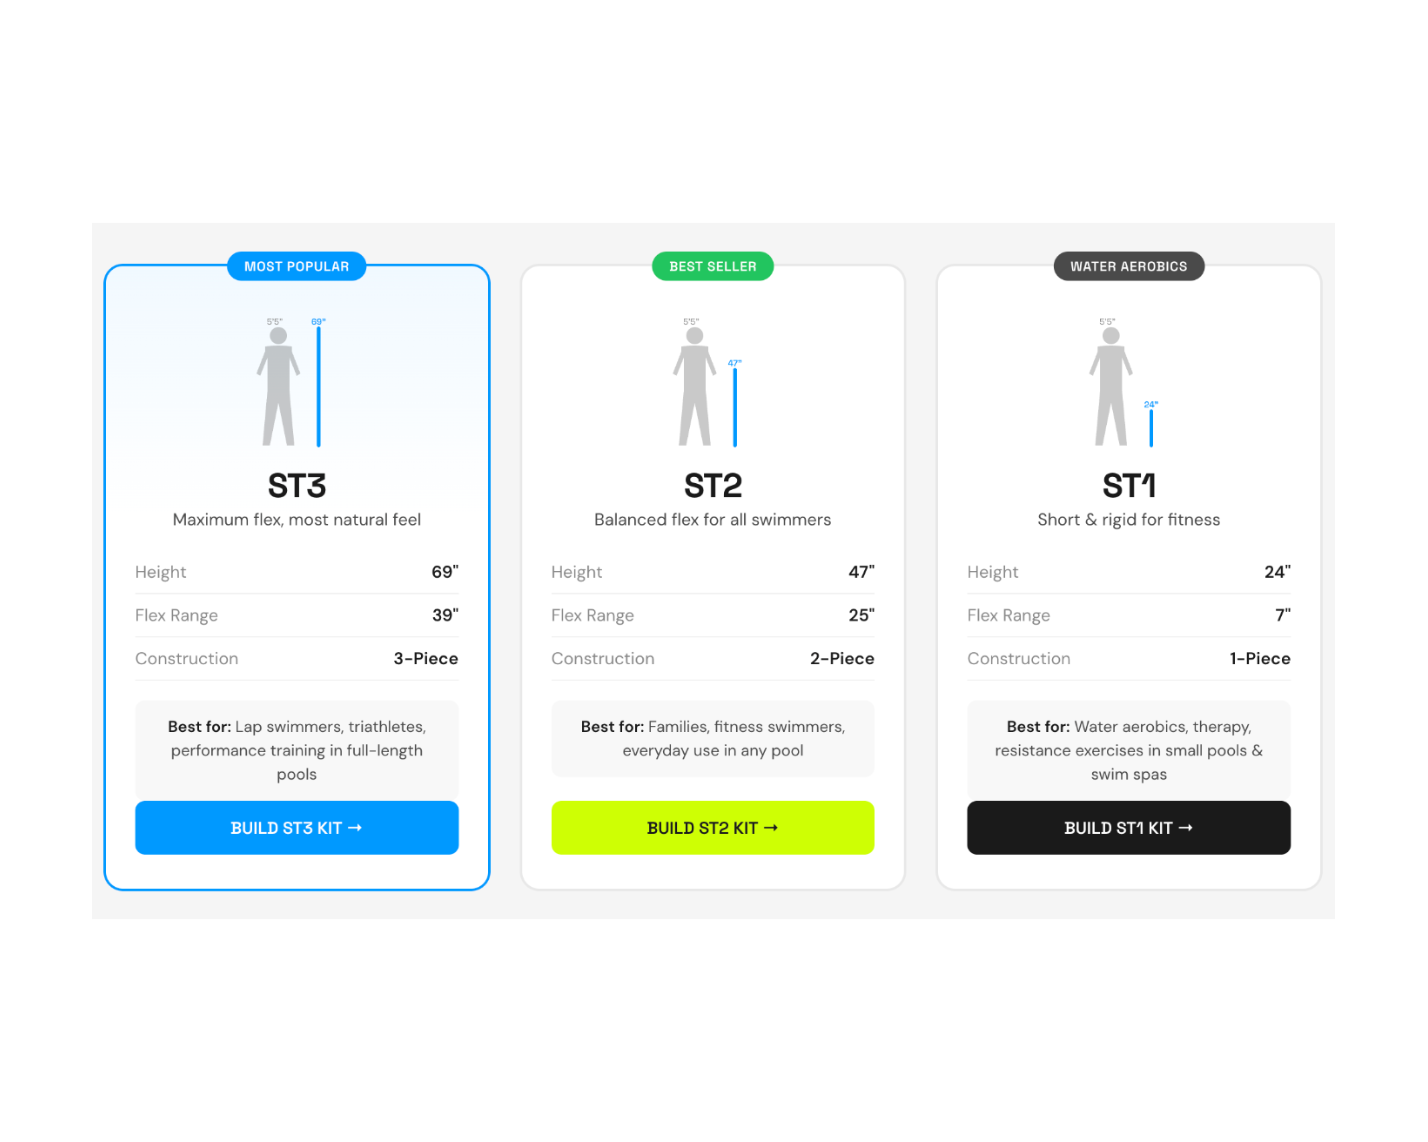
Overall Height Overall Height
|
|
|
|
Height Above Base Height Above Base
|
|
|
|
Weight Weight
|
3.0 lb
|
3.0 lb
|
2.0 lb
|
Belt Size Belt Size
|
|
|
|
Cord Length Cord Length
|
|
|
|
Installation | |||
Swimming Pool Swimming Pool
|
|
|
|
Swim Spa Swim Spa
|
|
|
|
Install Type Install Type
|
|
|
|
Swim Experience | |||
Flex Flex
|
|
|
|
Lift Lift
|
|
|
|
Feel Feel
|
|
|
|
Compatibility Compatibility
|
|
|
|
BEST SELLERS
View alla swim tether?
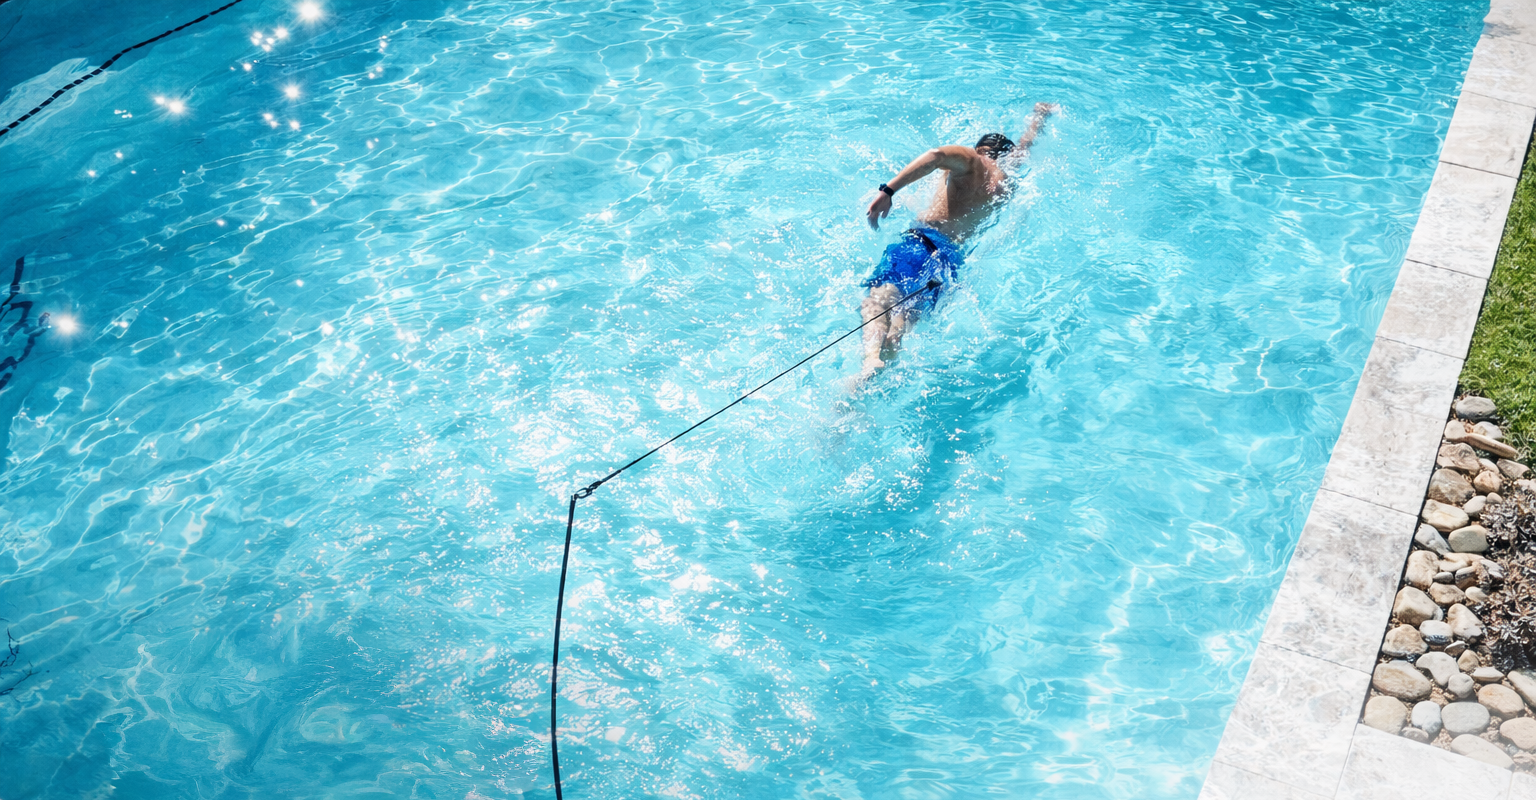
A swim tether is a piece of equipment used for stationary swimming or "swimming in place". It typically consists of a long elastic cord or bungee cord with one end attached to a stationary point such as a pool deck, pool ladder, or an anchor, and the other end attached to the swimmer's body, usually around the waist.
The swimmer then swims against the resistance of the cord, which helps to simulate the feeling of swimming in open water or to help develop swim-specific strength and endurance. Swim tethers can be used by swimmers of all levels, from beginners to professionals, and are commonly used for training purposes or for rehabilitation from injuries.
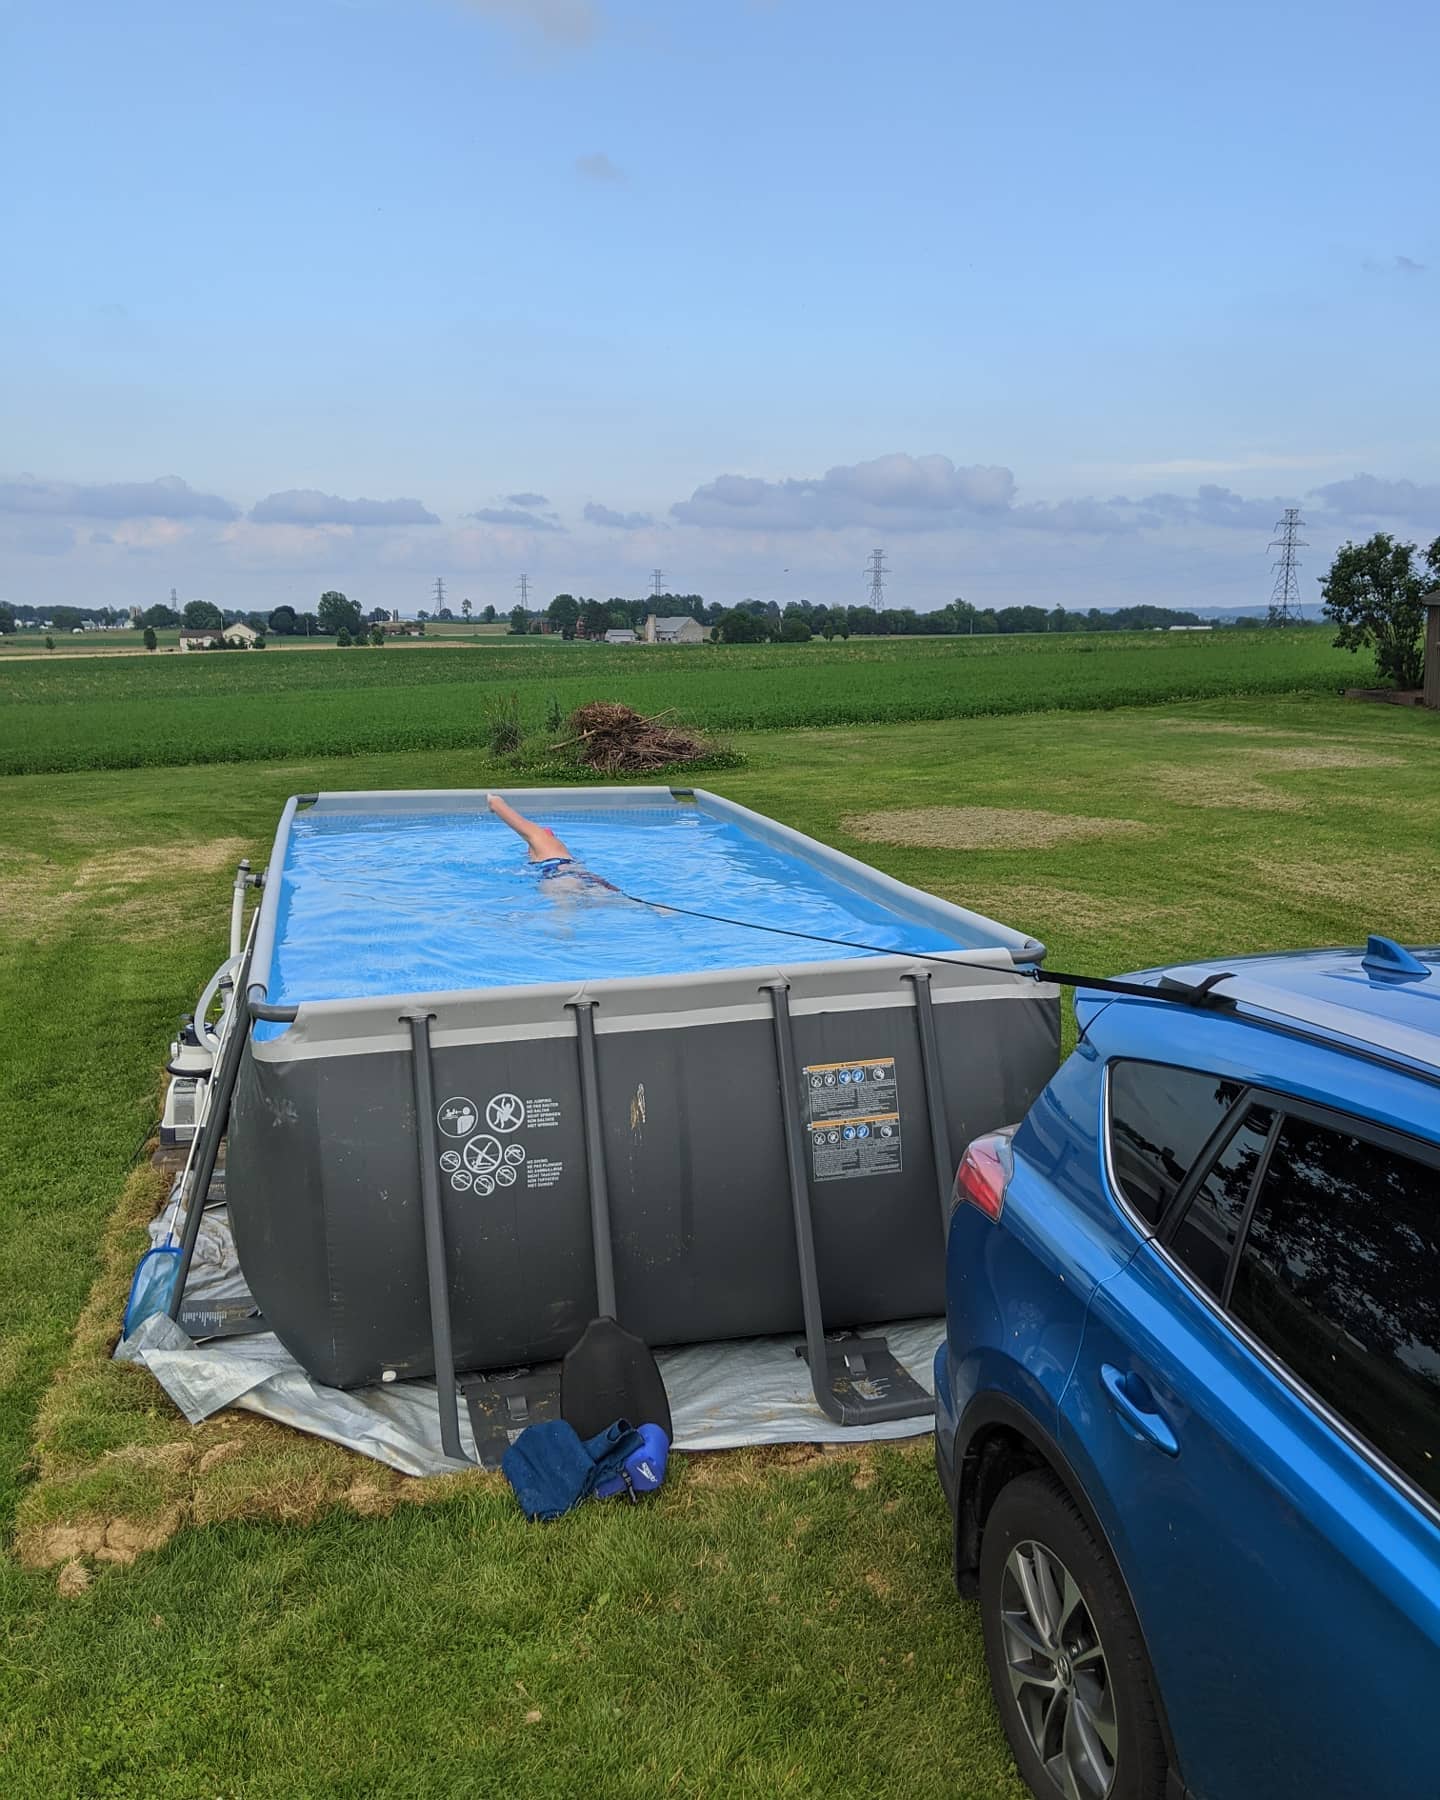
They are also sometimes used for open water swim training in pools where there is not enough space for continuous swimming laps.
Testimonials
EASY INSTALLATION
Swim Tether installs in minutes
The Swim Tether is easy to install in any swimming pool in just a few minutes. Watch and learn how to transform your pool into a challenging resistance workout.
Quick Answers
Step-by-Step Instructions
The entire process should take no longer than 15-20 minutes.
Step 1: Gather
What you'll need:
- Installation plate (Pick one up here if you don't have one)
- Hammer drill
- 1" masonry bit
- Hydraulic cement or similar adhesive (Loctite Construction Adhesive or Quikrete Hydraulic Cement recommended)
- Tape measure
- Marking tape
- Writing implement
- Rag for cleanup
Step 2: Measure and Mark
Determine the best location for your install and mark. Ideally, the hole should be set back 6-8" from the edge of your pool.Mark the drill bit with a piece of tape to indicate a drilling depth of 3".
Step 3: Drill and Clean
Start slowly with the drill perpendicular to the drilling surface and continue until the hole depth reaches your 3" mark. Clean out the hole of any dust and debris.
Step 4: Check Fit
Once the hole is clean, insert the plate to check for fit and any adjustments the hole may need prior to installing.
Step 5: Install
Apply a modest amount of hydraulic cement or outdoor project adhesive to both the hole and stem of the base plate.
Press firmly and evenly into the hole while wiping away any excess adhesive. Make sure the Swim Tether logo is aligned the way you want.
Wait 24 hours to cure before using your newly installed Swim Tether.
We highly recommend installing in the shallow end of the pool. It's safer to be able to stand when clipping on the belt or if you experience fatigue while swimming.
We have a 30-day return policy, which means you have 30 days after receiving your item to request a return.
To be eligible for a return, your item must be in the same condition that you received it, unworn or unused and in its original packaging. You’ll also need proof of purchase.
To start a return, please visit our self-service returns page. This link can also be found in the footer of our website: Start a Return. If your return is accepted, we'll email you a return shipping label as well as instructions on how and where to send your package. Items sent back to us without first requesting a return will not be accepted.
Restocking Fee
A 15% restocking fee will apply.
Damages and issues
Please inspect your order upon receipt and contact us immediately if the item is defective, damaged or if you receive the wrong item so that we can evaluate the issue and make it right.
Exchanges
The fastest way to ensure you get what you want is to return the item you have, and once the return is accepted, make a separate purchase for the new item.
Refunds
We will notify you once we’ve received and inspected your return. Once approved, you’ll be automatically refunded on your original payment method. Please remember it may take up to 10 business days for your bank or credit card company to process and post the refund.
Adhering to these simple guideline will keep you swimming and exercising safely.
DO NOT: overstretch cords. Swim/row cords are designed for gradual application of resistance and not sudden impact. Never enter a body of water by jumping in with the belt and tether attached or holding onto a row bar. If swimming, avoid pushing off the wall and instead, begin swimming once in the pool and all slack is out of the cord. Never stretch a cord more than 50% of it's original length.
DO: rinse after each use. Thoroughly rinse all components with fresh water after each use. Extended exposure to pool chemicals without rinsing may result in weakened material and the potential for breakage or injury.
DO: define your swim/row space. Find a rhythm while swimming any of the four strokes to remain in a defined swim space and avoid repeated stop and go excessive tension on the cord or tether poles. If rowing, ensure you have a sturdy grip on the handle portion of the row bar while exercising.
DO: let the water do the work. Remain within your defined swim/row space and refrain from out-swimming/out-rowing the system. You may be surprised how a little effort translates into large amounts of water resistance and exertion.
DO NOT: use for dry land. Our products are designed for use solely in water and should never be used in dry land training or exercise.
DO: disassemble and store when not in use. To avoid pool/spa deck tripping hazards, disassemble and store in the protective sleeve in a dry, safe place out of the elements such as a pool house or closet.
Swim Tether is not designed or intended to be a lifesaving device.